Table of Contents
The Interface Of Lazarus IDE
The Interface of Lazarus IDE. It has a clean interface. Which is what we are discussing in this post. Today i will identify the main parts of the GUI or interface screen. And go in a slight detail on what does what. The GUI of Lazarus can be different depending on what app you are making.
For example, in older examples. We used the Program application. But if we try to use the Application type. The GUI will include 1 more menu, The Form. Below i’ll explain what each part of the menu is. Let’s Begin!
The Interface Of Lazarus IDE – Details
The Tool Bar – Your Main Screen

Above is a image of the Lazarus IDE Toolbar. Here we can see the basic File , Edit , Search menu and so on. Under the File button is another section. Which allows us to make new projects, Run existing projects with or without debugging. And much more. The important part of this toolbar is the menus which say Standard, Additional and so on.
These menus contain “Components”. We use the components in the Application program type. We can also drag and drop these components on a menu called Form.
The Form – Our Place To Build
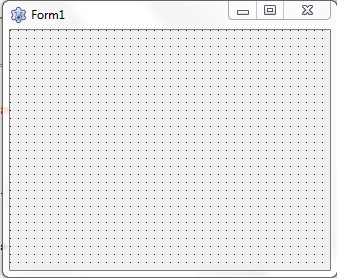
Above is a image of a form. A Form is where we can drag and drop components to make software of varying types. Such as in the Standard menu of the toolbar there is a component called “TButton”. If you drag and drop it on the form.. what we get is a button on the form! Congratulations. That’s your first component placed.
Although the button has taken it’s place, it is pressable meaning you can click on it and it will get pressed. But the problem is, currently it is just a button. Nothing more. It will do nothing when clicked on. To write the code for making this button work, double click the button.
A new menu will open for us, The Source Editor.
The Source Editor – Where Magic Happens!
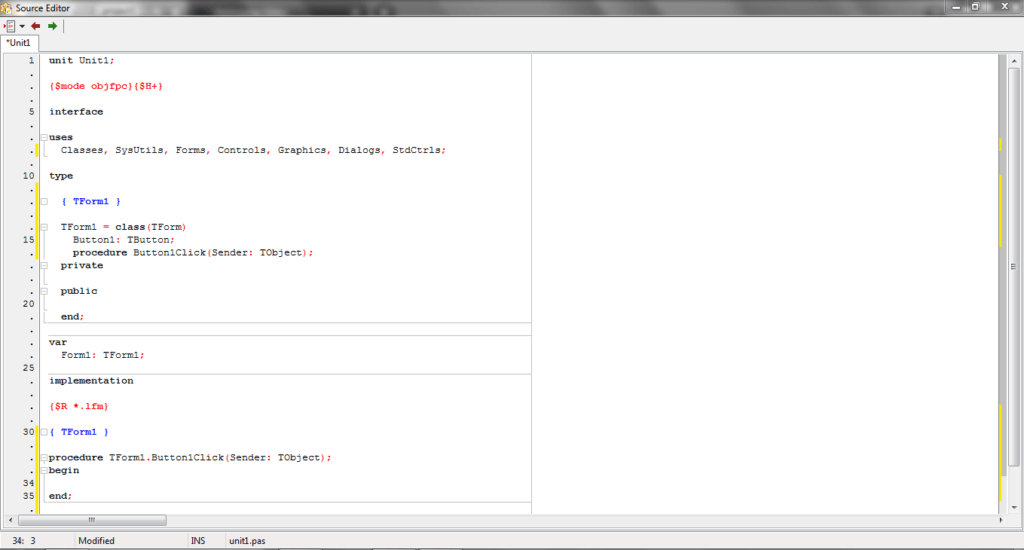
Let me explain, when we clicked the button the computer made a “Event”. An event is an action. For example clicking a button triggers an event and once an event gets triggered. It runs the code written inside of it.
There are many ways to trigger events. And there are different types of events too. But for now let’s keep the event “Button1Click” in mind. Just below the line which says “procedure TForm1.Button1Click”. You can see that there is a begin and end written here.
To write code and make it work, we must write the code between the begin and end. Begin signals that the code starts from here. End signals that the code ends from here. The semicolon at the last part of “end” is important. As the computer will not register the end until we place a semicolon.
Now while for now double clicking on the button to access the component is what we did. Imagine having a software like say a windows installer. It will have many components and it’s kinda bothersome to have to double click on it to access it. And even if accessing it is not a problem how do we change stuff like say the text written on the button? or Change events???
For all this a 3rd menu opens for us – The Object Inspector
The Object Inspector – The Game Changer!
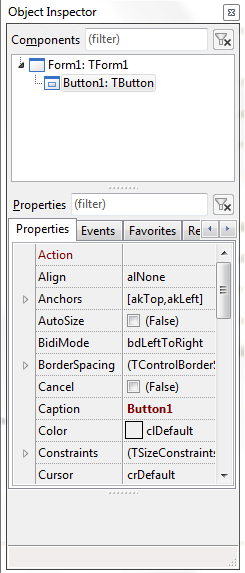
This is also an important menu of Lazarus. In here we can mess with changing events, change the color of components, change whats written on them and much more. We can also align the components in the center or corners or sides or wherever!
The Messages – All Our Alerts!

This is another vital menu of Lazarus. When writing code if you make a mistake, it alerts you. It also shows you basically the whole log of Lazarus. Whats being compiled where, which variables are not being used. Which line number is the error of code in and so on. For information reasons this is very useful.
In case your software was to crash this menu will show reasons why, how and when. As well as how to fix! Although it’s method of showing how to fix errors is not that good but it’s decent enough to have you know what to do.
Conclusion
Combining the usage of this, and the above mentioned menus is important. If used together all of them mentioned above can be used to make the best software of the world!
For now i won’t explain too much of this but later on as we use them and progress forth. Much will be revealed to you all! So keep reading on and let’s proceed to the next post – Our first few components.